Back when I did my Introduction to Dressmaking course in March, I had wonderful visions of knocking myself up a quick top or dress whilst the baby slept but the reality has been far from different. How naive was I to think I’d have the luxury of free time on my hands?! I decided to take part in the Simplicity Sewing Challenge, hoping that the concrete deadline would make me somehow FIND the time to complete it. Nothing like a good deadline to spur you on, eh?
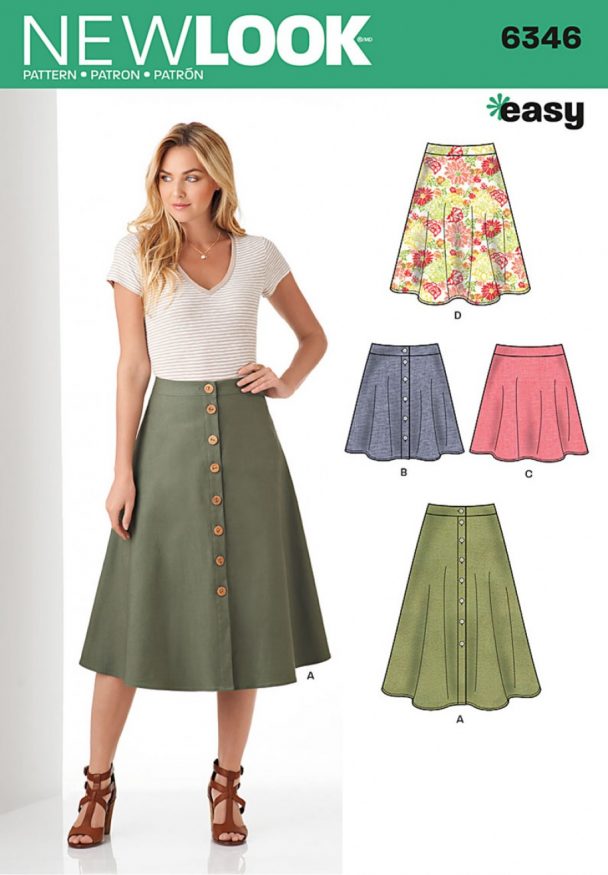
The newcomers category pattern was Simplicity 6346, a fairly easy looking pattern with the option of either front opening buttons or a zip at the back. Seeing as my last skirt had a zip at the back, I thought I’d try something new and go for the buttons, in the shorter length. Midi length does not go well with my calves!

Version B was what I was aiming for… now just to figure out what fabric to use.
In an ideal world, I’d have headed to a lovely fabric shop in person to peruse what was on offer, but with a newborn in arms and hours spent nursing on the sofa, online shopping was WAY easier. I quite liked the idea of something denim (navy blue is a wardrobe STAPLE in my house) as I knew it would go with pretty much everything I own and therefore would get a great deal of wear! I realise it’s not the most fashion forward or creative choice but I wanted to make something that had the highest chance of being worn.

This gorgeous little one does make it tricky to head out to lovely fabric shops… although it is getting easier now!
Initially I ordered a few metres of chambray fabric that looked a little bit textured and gorgeous… I was super excited for it to arrive, and when it did… I realised the perils of not shopping in person. The fabric was pretty translucent! There’s no way I could get away with that fabric for a skirt. Back to the drawing board it was, and not wanting to put all my eggs in one basket, I ordered an array of fabrics just in case I ordered something inappropriate again.
I decided to add a cut off of denim fabric to my order so that I could make a toile. I find dressmaking sizing a bit of a minefield and especially as I’ve lost all body-normality following pregnancy, I figured making a mock-up to test out sizing was the best option. I figured a cheap cut of demin would replicate the heaviness and drape of fabric I was going to make the skirt out of and get me used to working with something a bit heavier than cotton before the real thing.
I did a bit of googling and found this blog post by Seams Odd, Louise who had made the pattern previously and said she found the sizing to be pretty big. She’d aimed for a 28 inch waist by making a Size 14 but it ended up being 32 inches. This was VERY useful information for me – the perfect size for me, give or take a bit of wriggle room.

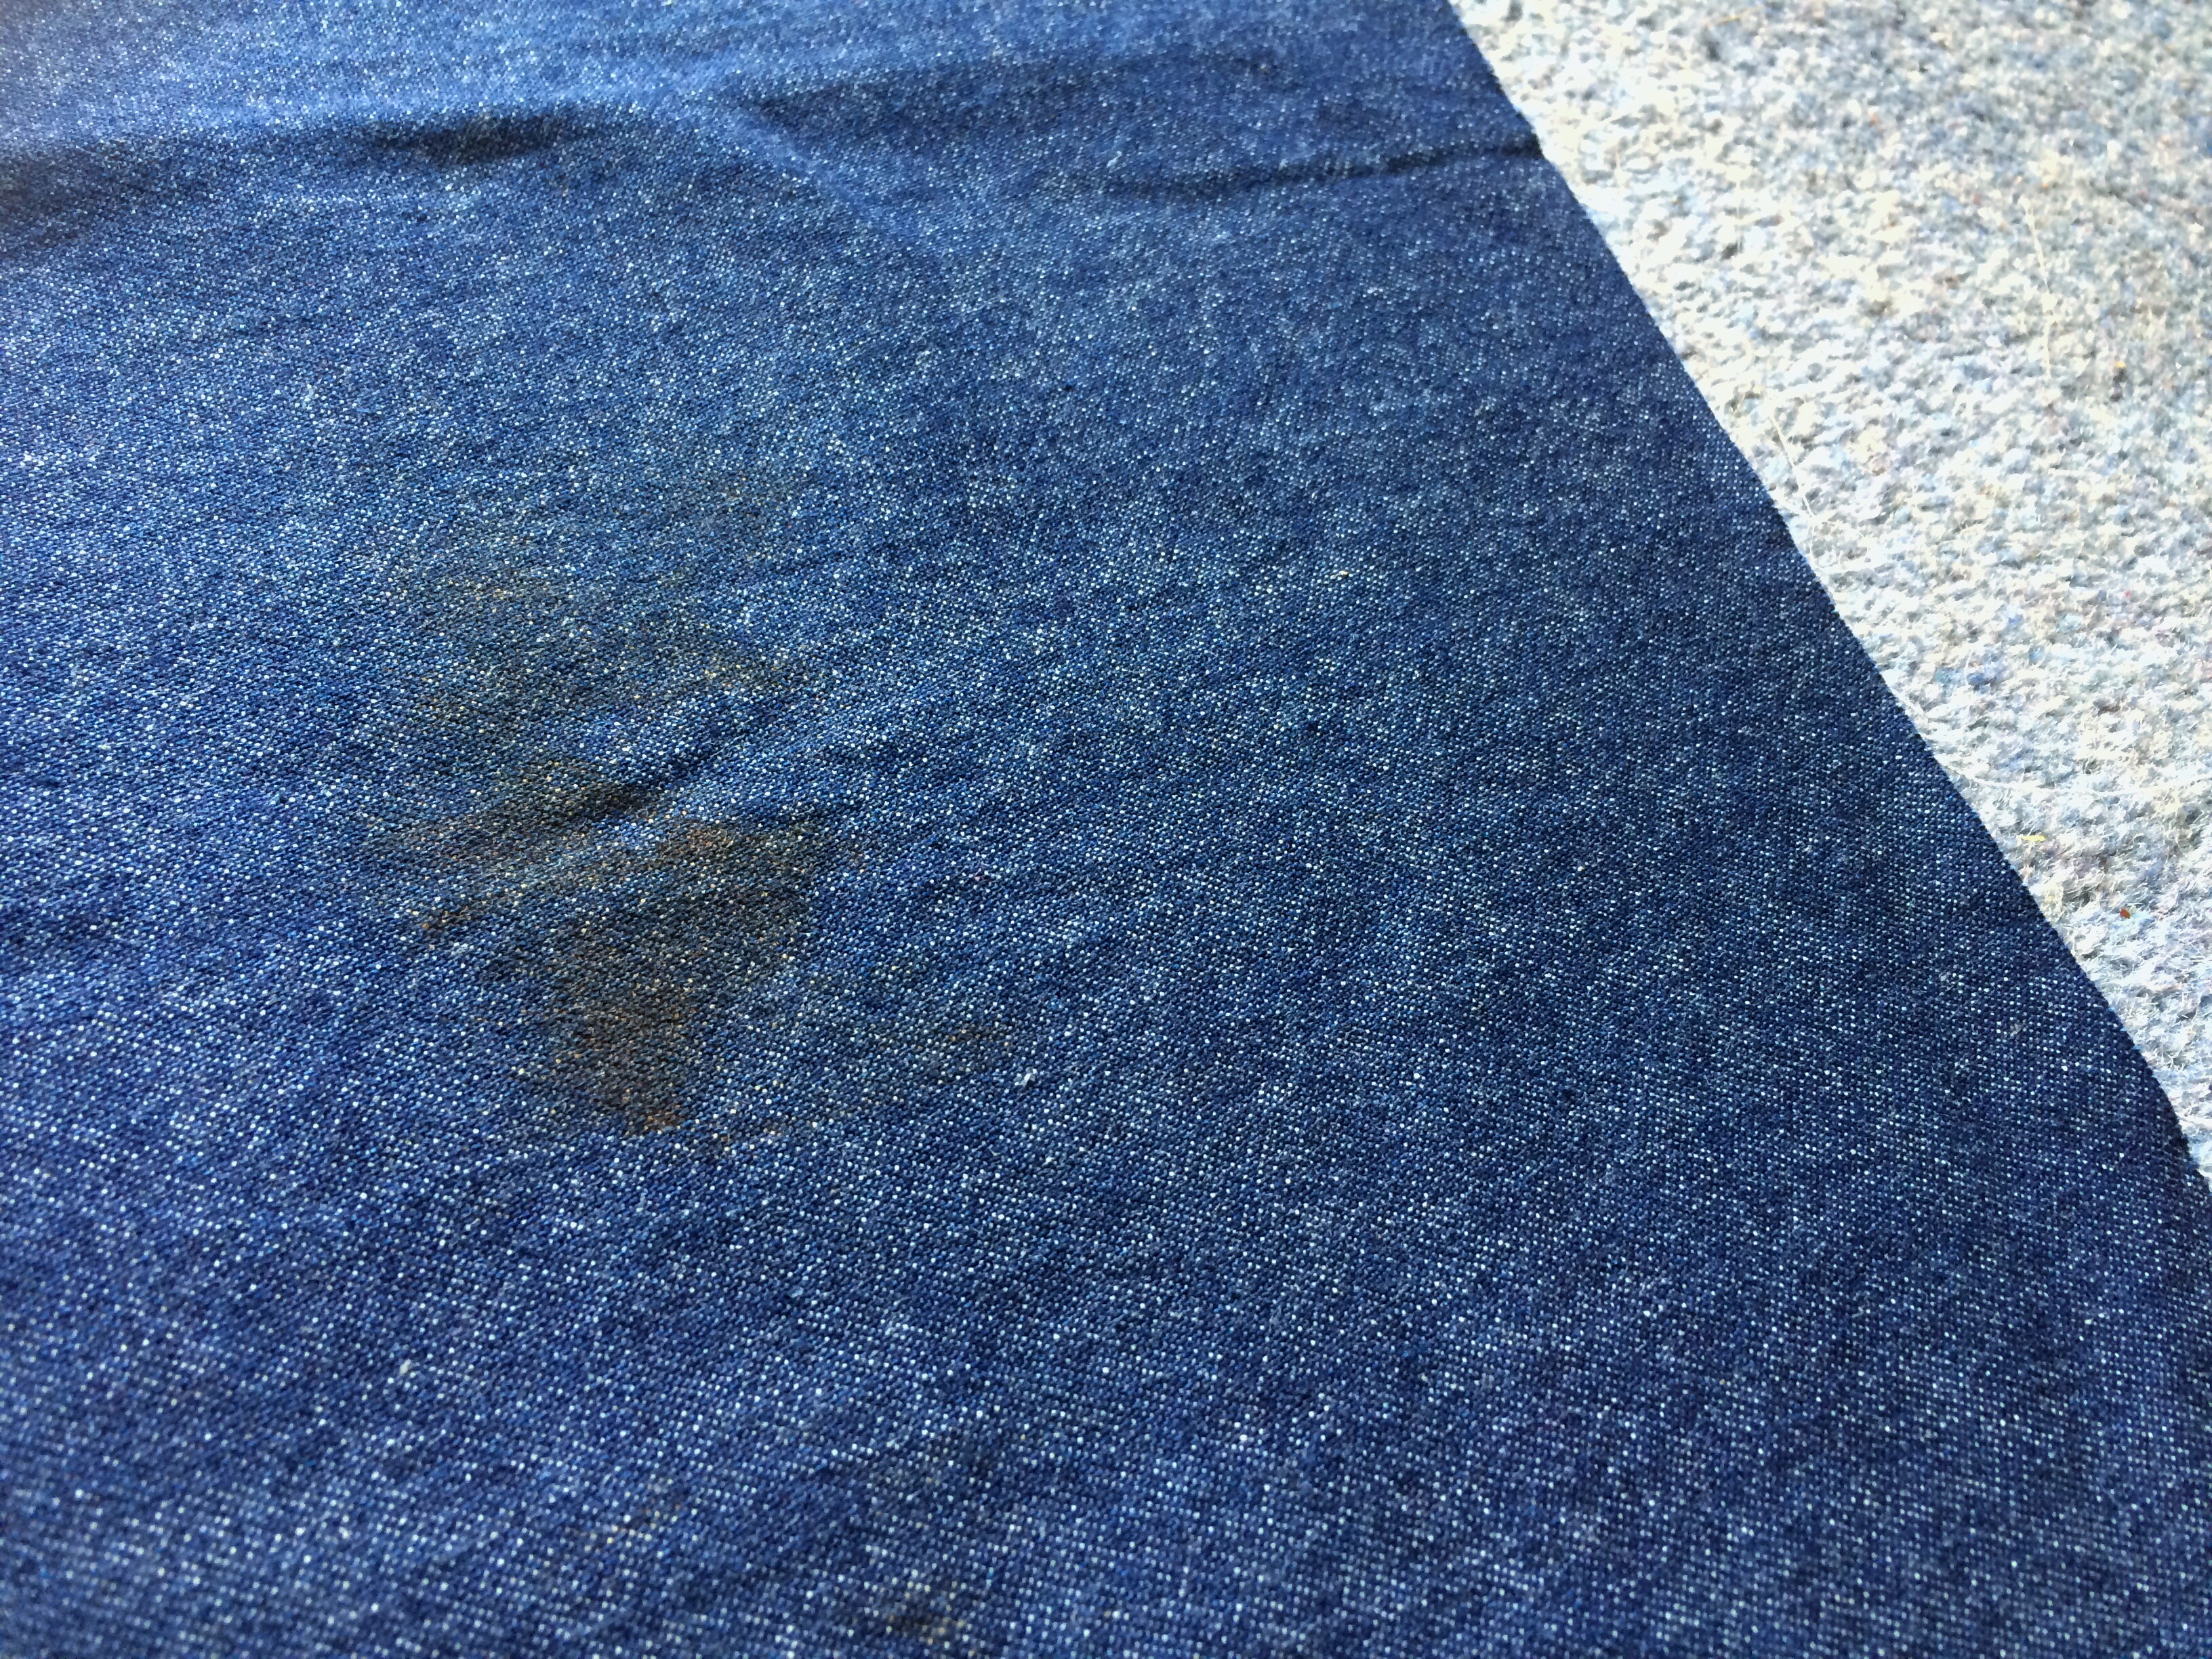
My demin cut off had an unfortunate stain on it (hence why it was so cheap) but with some careful pattern piece placing, I managed to avoid the strange inky blob – bonus. I think I ended up pinning my pattern pieces in place just before Pickle woke up from a nap and it was a week or so later before I had chance to actually cut the pieces out! This is why my house is always a mess… there’s half finished craft projects all over the place.

Following the instructions was fairly simple, and before I knew it, I was attaching the waistband facing on. For some reason, this bit always throws me a little. Although I’ve only done it once before, both times it has felt like I doing it wrong. It takes a great deal of concentration for me and checking and re-checking the pattern multiple times to make sure I’m sewing it all the right way. Thankfully, I’d gotten it right. Phew.

Whenever I do this, it always looks like it’s never going to quite fit or is going to be wrong… but so far, so good!
Once I’d gotten to this stage, I could tell that the skirt was going to just about fit. It might have been a little snug when I first tried it out but I figured with some baby weight still to lose, although it’s slow progress, I wouldn’t want to make the skirt any bigger as I might not get much wear out of it (that’s the dream, eh?). I did purchase another pattern just in case (!!!) but thankfully, I’ve not had to use it. With the toile being a good fit size wise, I actually decided just to carry on making this garment as the ‘real thing’. I’d avoided the stain on the fabric and I was doing a pretty good job so far. Also, it took me ages to get around to doing this much, and I didn’t know if I’d have time to do it all again.
After some pressing and fiddling around trying to turn the facing under so the raw edges were hidden, I did my favourite – a bit of topstitching. I do love a bit of topstitching! The only problem was… I hadn’t quite turned under the facing enough so even though my stitching was oh-so-close to the seam, it didn’t quite catch the facing. Damnit. I wasn’t quite sure what to do at this point, but ended up doing another line of topstitching just under the seam. You can’t actually see it unless you look really close and I quite like the added texture. Crisis averted.

I do love a bit of topstitching.
A quick hem later, following the quite clever instructions to use a machine baste as a guide, I had myself a lovely circle of a skirt. I just needed to decide what buttons to use. Somehow I managed to persuade LPD to take a Sunday trip to Hobbycraft (the only place I knew would be open on a Sunday) and I picked up some normal buttons and some cover buttons. I quite liked the idea of using either some leftover fabric from our wedding day crafts or one of Pickle’s newborn baby grows to make the buttons with as I liked the sentiment, but it made me wonder how easy it would be to pair it with tops to wear, so in the end, I opted for just normal silver coloured buttons. Not very adventurous, but then, my fashion sense has never been very outlandish!

I went with the safe button option.
For the eagle-eyed experienced sewers out there, you may have noticed that my buttons are sewn onto the wrong side of the skirt… And that’s because I wasn’t entirely happy with where the skirt meets the waistband (you can see in the photo above that there’s kind of an inverse arrow). I thought if I did the buttons the wrong way round, it’ll be covered up a bit by the neater side!
And so there we have it. I made a skirt!

Ta-da! My finished denim skirt. Ready to wear and will go with pretty much everything in my wardrobe. Bonus!
I have to say… I’m really proud of myself for this. It might not look like much. It’s certainly not the best finish in the world (what with the second row of topstitching and the buttons the wrong side!) but it’s the first thing I’ve made completely on my own and I think it looks pretty good. Now… just to lose a few more lbs worth of baby weight and it’ll look even better!
Next time, I’d love to do a contrast facing – maybe a red polkadot or something. Not that anyone would see it, but I think I’d feel like it would look really cool. I definitely would also like to be more adventurous with my fabric choices but as I’m so new, playing safe is fine for now.
Note: I did spend Pickle’s nap time today taking some nice photos of me WEARING the skirt on the lovely camera my Dad has kindly lent me. Turns out, I don’t have the means to actually get the photos off the camera onto my laptop… so will have to add those photos in afterwards when I can!
Edit: And I managed to get the photos! Here we go…

Excuse the unmown lawn… but the skirt fits! Just.

Completely missed looking at the camera on this one… think I was distracted by something.

Fancy having a go yourself? If you’re inspired to take up sewing, and need to get yourself a machine, Stitch & Sew have a brilliant How to Choose the Best Sewing Machine guide that may help you figure out what kind of sewing machine is best for you. There are so many to choose from that it can be quite daunting. I’ve just got a very basic, entry level machine and it does the job for me – so don’t think you need to spend hundreds to get going. You can always upgrade if, like me, you get the sewing bug!


Jon
You should be REALLY proud of your self for making that skirt! You did a fantastic job! Far better than I could ever do lol
Little Pickle's Mom
Thanks Jon! I’m hoping after I’ve lost a few more lbs of baby weight, it’ll become a wardrobe staple. It does fit now but if it was a bit looser, I think I’d be more comfortable!
Dean of Little Steps
The skirt looks lovely. I’m envious of people who can sew clothes. I have a friend who makes clothes for her daughter and would love to be able to do it too. I did buy myself a sewing machine, but that’s about it 🙁
Anosa
This is something my mum would enjoy doing as she loves sewing and does it regularly. I am loving the skirt you’ve made and cant wait to see the pictures
RachelSwirl
oh my goodness thats fab!
clairejustine
Oh wow this is great. You sewed it perfect, I love my denim skirts. You did a great job here 🙂
Kara Guppy
I haven’t made clothes since I was at school – looks lovely though x
Sarah
Well done you!! This looks fantastic! I do love a good denim skirt anyway, but I’m super impressed that you made it yourself!