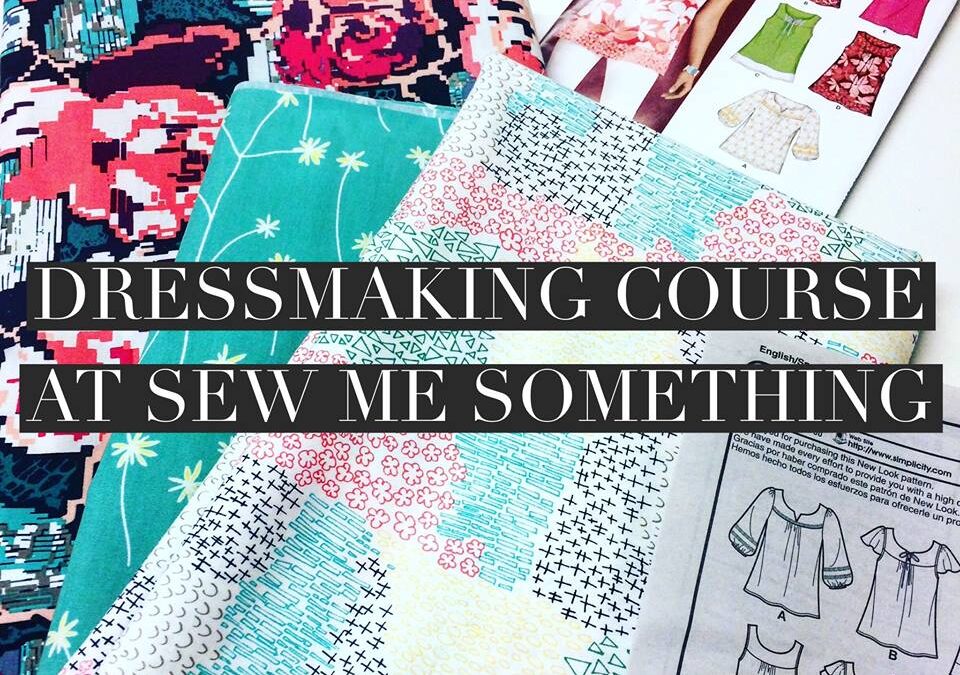
Tuesday evenings are now dressmaking evenings, as I’m taking part in a six week course at Sew Me Something, a gorgeous sewing boutique in Stratford-upon-Avon (you can read about Week One here). There’s four of us in the class and we’re now almost finished with our first garment: New Look’s 6871 pattern.
I was really surprised this week with how quickly it seemed to come together! Last week, I finished with two pieces of fabric that looked vaguely top-shaped but before I knew it, I had my side seams together and was using an overlocker for the first time.

Using an overlocker for the first time was exciting and a bit nervewracking – but how professional is the finish?! Amazing.
If you’re new to sewing or haven’t heard of an overlocker before, it’s a whizzy machine that neatens up seams by trimming off any excess fabric and creating loops of thread to tidy everything up. It leaves your seams looking so professional – exactly how you see them in the shops! It took some getting used to as it feels like it chunders away so much quicker than a sewing machine, but our teacher Jules instructed us just to ‘dab’ the pedal until we got the hang of it. I think we all quite enjoyed using it in the end! If you’re serious about your dressmaking, it’s definitely a worthwhile machine to add to your sewing collection.

The neckline in particular had a few of us scratching our heads, unable to fathom why we were sewing it the way we were.
The trickiest thing that I found this week, was figuring out which way round to sew everything. Right-sides together, wrong-sides together… it takes some time to get your head around what you’re sewing where and what effect that will have. Thankfully, under the invaluable eyes of Jules, I haven’t done anything disastrous yet but that is 100% down to her guidance than my own dressmaking savvy! I think the top would be looking VERY different had I been going it alone – and why doing a course like this was so important to me!

Pinning and sewing is starting to come more naturally now – thank goodness
I did notice I was getting much more confident in my pinning, knowing more instinctively which was the best/easiest way to put my pins in and after Jules reminded me that I’d probably find it easier to sew in a straight line if I went that bit quicker – I was REALLY chuffed with my sewing lines too, and felt confident enough to do a bit of visible top-stitching along the yoke.

My finished neckline, complete with top stitching! Hurrah!
At the end of the session, I had a finished neckline and my contrast band sewn on too. I think it’s just the bottom hem and the arm-holes to finish off and it’s completed! That shouldn’t take the whole three hours next week, so we’ll be starting the skirt next week too. EXCITING! Starting to wonder if my fabric choice makes it look like an oversized dress for a toddler rather than a top for an adult, but I’m hoping it’ll still look lovely in the summer – post-baby weight dependant! FINGERS CROSSED I chose the right size to make, and that it’ll fit me wonderfully once Pickle is here. Still adore these Art Gallery Fabrics, but think maybe I’d have done better without using a contrast yoke? Not sure. Need to hone my design eye I think. My dressmaking adventures continue next week…!
Psst… Simplicity currently have a 50% sale on New Look sewing patterns, so if you’ve been inspired to give either this pattern or any other pattern a go, definitely check it out as you may pick up a bargain! If anyone has any pattern recommendations for me too, that’d be grand – I’m still VERY much a beginner, so the easier the better!


Emma White
oh wow how talented are you
Lilinha
How interesting! I would love to go to a dressmaking course. When I was little I used to make dresses for my dolls, but that’s my only experience sewing! 🙂
http://lilinhaangel.com/
Cliona
I’ve actually wanted to do a dressmaking course for ages so it’s great to get some info. I’m pretty clueless, we do have a sewing machine and I’d love to be able to make things for myself and for the house.
Grant R
I bought my wife and my eldest sewing machines for Christmas. Having never used one before, I was hypnotised by it on Christmas Day. I threaded the machine, threaded a spool – it was amazing!
Emma has been using it continuously and I’m sure she’d be delighted to register with a dressmaking course. I’ll keep sending her these links and you keep teaching us stuff! Thank you 🙂
Anosa
Sewing is one thing that I could never get into when I was at school, my mum and my sister are pretty brilliant at making clothes where as it I think it skipped me completely. Can’t wait to see the final outfit.
Rachel
I think you are doing amazing, again I love both fabric pieces you have chosen and whilst I can just about sew a button on, I know I would never be able to do this x
Kara
I haven’t used a sewing machine since I was at school – would love to try it again
Mudpie Fridays
Wow this looks great, well done you I have never used an over locking either. I have some patterns I would like to make but I don’t know where to start I will have to see if I can find a similar class locally. Good luck with the skirt.