
I’ve been wanting to learn dressmaking for ages, and after several failed attempts to sign up to a local college course and time running out before Pickle’s arrival makes attending any kind of classes trickier, I bit the bullet and booked myself in for an Introduction to Dressmaking 6 week course at Sew Me Something, a gorgeous sewing shop in Stratford-upon-Avon.
Over the 6 week course, I’ll be learning how to make a simple top and skirt… although I’m sure an avid sewer’s idea of simple is FAR from my idea of simple! Having only been adventurous enough to try making a tote bag and an envelope cushion cover so far, my experience is very limited. I ventured down to the shop beforehand to pick out what fabric I’d use, and was so excited to see a finished version of the top and skirt I’d be attempting (I didn’t manage to take a photo, but if I get chance next week, I’ll post it as the outfit looks FAB!). I tell you what, I am going to be so proud of myself by the end of the six weeks if I successfully make these!
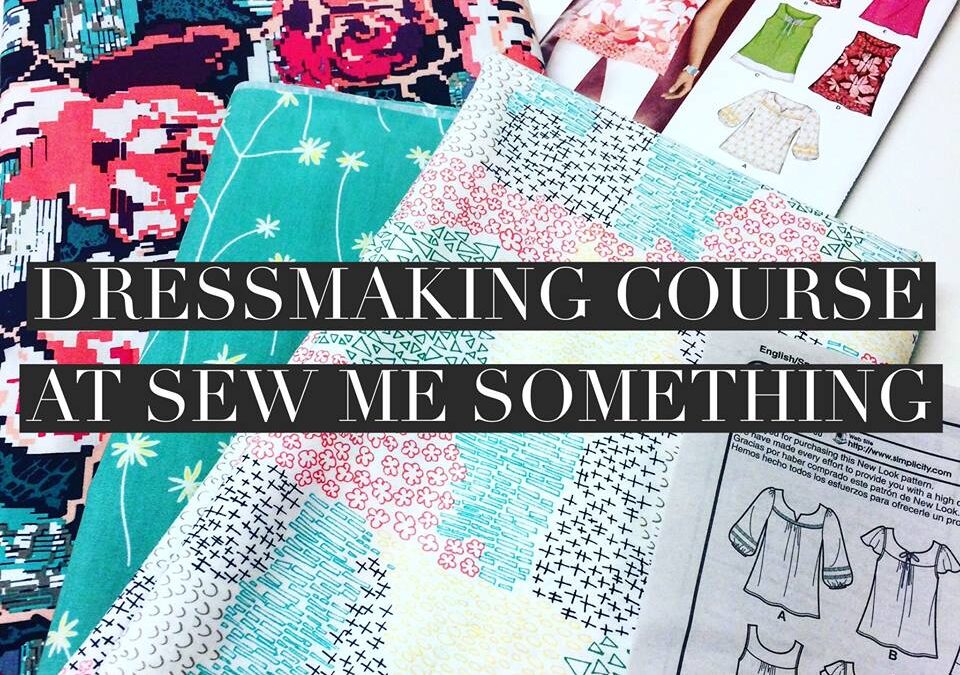
I was spoiled for choice with the fabrics on offer but here’s what I settled on – a selection of Art Gallery 100% cotton fabrics.

I choose Window View Spring from the Happy Home collection for the main fabric choice for my top.

This is Book Pressed Memories from the Curiosities collection – I love the fresh daisies!

This is Flowered Engrams Ornate from Recollections. It’s a bit of a bolder print that I’d usually go for but thought it would be perfect for a funky skirt.
We kicked things off last night by making a start on the top (and sipping on a cup of tea). We’re working from New Look’s 6871 pattern – a lovely sleeveless tunic style top with the choice of a contrast yoke and band.

New Look Pattern 6871 – we’re making the D view (sleeveless, without lace detail at the top).
Who knew navigating a sewing pattern could be so complicated? I’m glad Jules was able to guide us through it as I’d have gotten so lost trying to do it on my own. I figured out which parts I needed to cut out, vaguely estimated what size I’d probably need after Pickle’s born and set about the mammoth task of cutting out.

Some successful cutting of my yoke sections – the front and back.
All the cutting turned out to be quite back-breaking work but I quite enjoyed figuring out where to place the pieces on the fabric – I love anything that involves a bit of logic. After interfacing the yoke pieces, I was ready to begin the actual sewing (cue lots of nervous squealing and a gorgeous homemade lemon cake to steady my nerves – thanks Jules!).
The first task involved doing gathers – something I’d not attempted before. We had to sew fairly long stitches in two neat parallel lines in-between two notches we’d made in the fabric so that we could pull the thread tighter to create tiny little gathers of fabric across the top. The hardest bit was then matching up the gathered front/back pieces to the non-gathered front/back yoke pieces. Jules made it look so easy but I definitely struggled! Time was rapidly running out for the session but I finished it in the nick of time, ready to continue next week. I absolutely cannot wait.

The front and back yokes successfully attached to the main front and back panels – can you see my gathers?
Keep your eyes peeled for another up date next week, when the top should be nearing completion!

Dressmaking Course at Sew Me Something


Jessie
This was just so lovely to read – I could just *feel* your excitement and see your concentrated face while trying it all out and then your all chuffed face afterwards! Makes me happy 🙂
Little Pickle's Mom
There was a lot of sticking my tongue out as I was concentrating! Ha ha. I can’t wait to show you when it’s all finished!
Jessie
P.S Love the fabrics you’ve chosen – it’ll be a lovely top!
islandliving365
I look forward to seeing the how the top is coming on next week. I also love the fabrics you have chosen. #brillblogposts
Grant R
Excellent! I bought my wife a Janome 525s for Christmas. These patterns and pinned fabric look like witchcraft to me but it works! Emma’s already made blouses for the girls. Even I was hooked when I learned how to thread the machine! Excellent work 🙂
mummyinatutu
This is so cool! I wish wish I had the time as I have been itching to sew or update my skills for yonks. For now I shall live vicariously through you. FYI love the fabric and you are doing so well!!
#brilliantblogpost
Kizzy Bass
I’m very jealous, I’d love to have a go at making clothes for me and my daughter. Maybe when I’ve finished for the Summer I will look more into it. Love the daisy fabric.
Emma White (@TheRealSupermum)
aw wow well done you no more shopping for you as you can just make everything
bubbablue
I keep spotting sewing courses near me, but I’d need to do an intensive one because weekly to Stratford or Witney isn’t going to be manageable. I have my mum’s sewing machine but haven’t used it yet because she didn’t have chance to teach me before she died. Must do some lessons
Zoe
I’d love to do a dressmaking course! It sounds brilliant and I might look one up after reading this. It’s just finding the time to do it!
Kaz & Ickle Pickle (@IcklePicklex)
Oh what a lovely idea – the colours you have chosen are gorgeous. Can’t wait to see the finished top. Kaz x
cvnxena
wow, how exciting! I have always wanted to make a dress and then i remember I do not have that capability haha I always expect it to be a bit like sound of music :p looking forward to seeing what you make!
Ana De Jesus
Congratulations on starting your dressmaking course you definitely have an eye for it!
Angela Milnes
This sounds awesome. I’m really not a sewer but admire anyone who can do this. It looks great and impressive. Angela
Kara Guppy
We used to do dressmaking classes in school and I used to make dresses, skirts and cushions, not sure I could do it now though
Rachel
This was fascinating to read and the fabrics you have chosen are just beautiful, ive never tried anything like this, so am interested to see how it works out x
Sarah
Aw wow I love love love the fabrics.. I’ve always wished I knew how to make stuff .. my nan tried to teach me how to knit when I was younger but just didn’t have the patience lol. Good job thou hun xx
Little Pickle's Mom
Thanks Sarah! So glad you like the fabric choices – I wouldn’t have a CLUE where to start with knitting, will concentrate on getting my head around sewing for now. Would definitely recommend it – I love any kind of crafting to cheer the soul! LPMx
Silly Mummy
This sounds such fun! I’d love to do this! I have a sewing machine & I can do things, but I could do with a refresher of when I did know how to make clothes many years ago in order to do it well. & not have it take years! #brilliantblogposts
Little Pickle's Mom
Oh I’d definitely recommend it! Obviously I’m learning for the first time but it’s prompted my Mum to get back into sewing – we’re doing a day’s workshop together in a few weeks that’s just about sewing zips! Ha ha. Thanks for dropping by! LPMx
Talya
Wow so impressive! I have been trying to get into dressmaking on and off for years but still off! Looking forward to seeing more of your projects! Thanks for linking up to #coolmumclub lovely x